Refreshing topside graphics
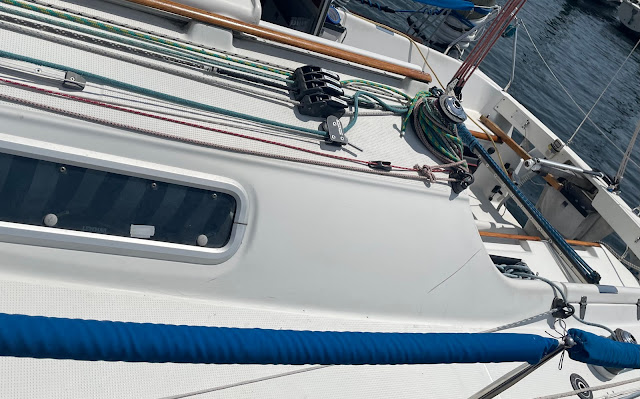
The picture below shows it all. After 20 years, the original painted-on Beneteau logo had chipped and faded, and made the whole boat look old. Finally time for a re-do!
While removing paint from the gelcoat might seem like a hard task, in reality it goes very quickly with the right tools and supplies. Here is what you will need:
- Wide painters tape
- EZ-off oven cleaner (yes OVEN cleaner)
- Small plastic scraper
- White vinegar
- 300 grit sanding block
- Your new vinyl sticker replacement
- Eye protection, gloves, paper towels, rinse water, etc etc
First tape and paper off the area for overspray and drip. I found with some care you only have to tape below.
Now spray the entire logo with the oven cleaner. Not too much, not too little. Let it do its work. Remember that the cleaner is VERY alkaline, and care must be taken. Give it 5 minutes. Now try and scrape the lettering off in one spot. It should just peel right off, leaving only perhaps a ghost of an outline. If not, wait a minute longer. Touch-up spray if needed.
Then remove the tape and wipe up the goo with paper towels. You will notice that the area is now yellowed, but fear not, pilgrim. We'll deal with that now. The very alkaline pH oven cleaner has affected the chemistry of the gel coat. Let's fix that. First rinse with water, which is pH neutral. It will look better. Now rinse with white vinegar, which is quite acidic. White again! Gotta love chemistry.
You will probably notice a 'shadow' of the old graphic. Over the years, the old logo interacted with the gelcoat under it, and the sun and UV have affected the surrounding area. This is where the sanding block and 30 minutes of elbow grease will pay off. Keeping the block wet and rinsed, sand/scrub the area until the shadow goes away. Dry, and we're ready to tape!
I've found that on every Beneteau I've owned, the logo is aligned with the TOP of the coach, not the bottom. So align your logo top with the top crease. I used a strip of tape to mark it and the gap.
Follow your logo-makers instructions, but most tell you to tape a 'hinge' at the top (long side) of the logo, and then carefully peel the under backing away, leaving the logo attached to the clear top carrier. Carefully push/squeegee the logo down from the hinge, and use the scraper if needed to remove any 'bubbles'. Finally peel back the carrier. Be careful not to pull up the logo.
The final result. It completely dresses up the boat, and after a deck power-wash BlueJ looks brand new!


On the 25S, the logo and lettering are plastic raised letters glued in a similar position. While not a high foot traffic spot, they are fragile and have required at least one delicate repair. The 2D solution on your 260 is far superior!
ReplyDeleteRoy - on the First 36.7 it was the same thing. Right in the way of crewmembers scrambling over the top on a tack. After a couple of races a letter would break off. Next series, another! Not a great idea for a race boat!
Delete