Updated Hatches, part 1
It was easy to tell that the sun and UV had effected the acrylic lenses of the Lewmar hatches on BlueJ. While mostly cosmetic, the surface crazing made the windows look old, and they were hard to see through.

And while visually bothersome, they never made it to the top of the maintenance priority list until a guest foredecker stumbled on a maneuver during a race and fell on the foredeck hatch, cracking both the lens AND the frame. As we have crew up there all the time, it created a major safety issue and had to be dealt with ASAP. We added some tape to keep the water out and hold things together after the race, and started to look for solutions.

First up was to identify the correct part. Based on specification the hatch is a Lewmar ‘Low Profile’ hatch, model 30. That’s the key information. Lewmar Low Profile model 30. And while you can replace just the lens or the lid assembly, I went for the whole hatch to get full benefit of the upgrade. That 25 year old original hatch gave us solid service and owed me nothing.
I found that hatch on sale Mauri Pro, and while browsing I noticed that they also had replacement lenses for opening portlights. Knowing the ports on the 260 are Lewmar OLD Series 4, I was very happy to find them available and on sale as well. So all three parts were secured at the same time.
The box arrived in little over a week, and that same day I set to work. The opening portlights were super easy to install, the whole process took 15 minutes and only required a screwdriver, a hex driver, and a dab of marine grease. The effect is amazing.

Buoyed with confidence in how well that part went, I set into the foredeck hatch. This I knew was going to be more complicated, and made even more so because I had no idea how well Beneteau secured the hatch to the deck during construction. The 'wrong' mastic here could really complicate my life.
My plan was simple, remove the perimeter screws and then attack whatever mastic was holding the hatch down with a construction chisel and a light hammer.
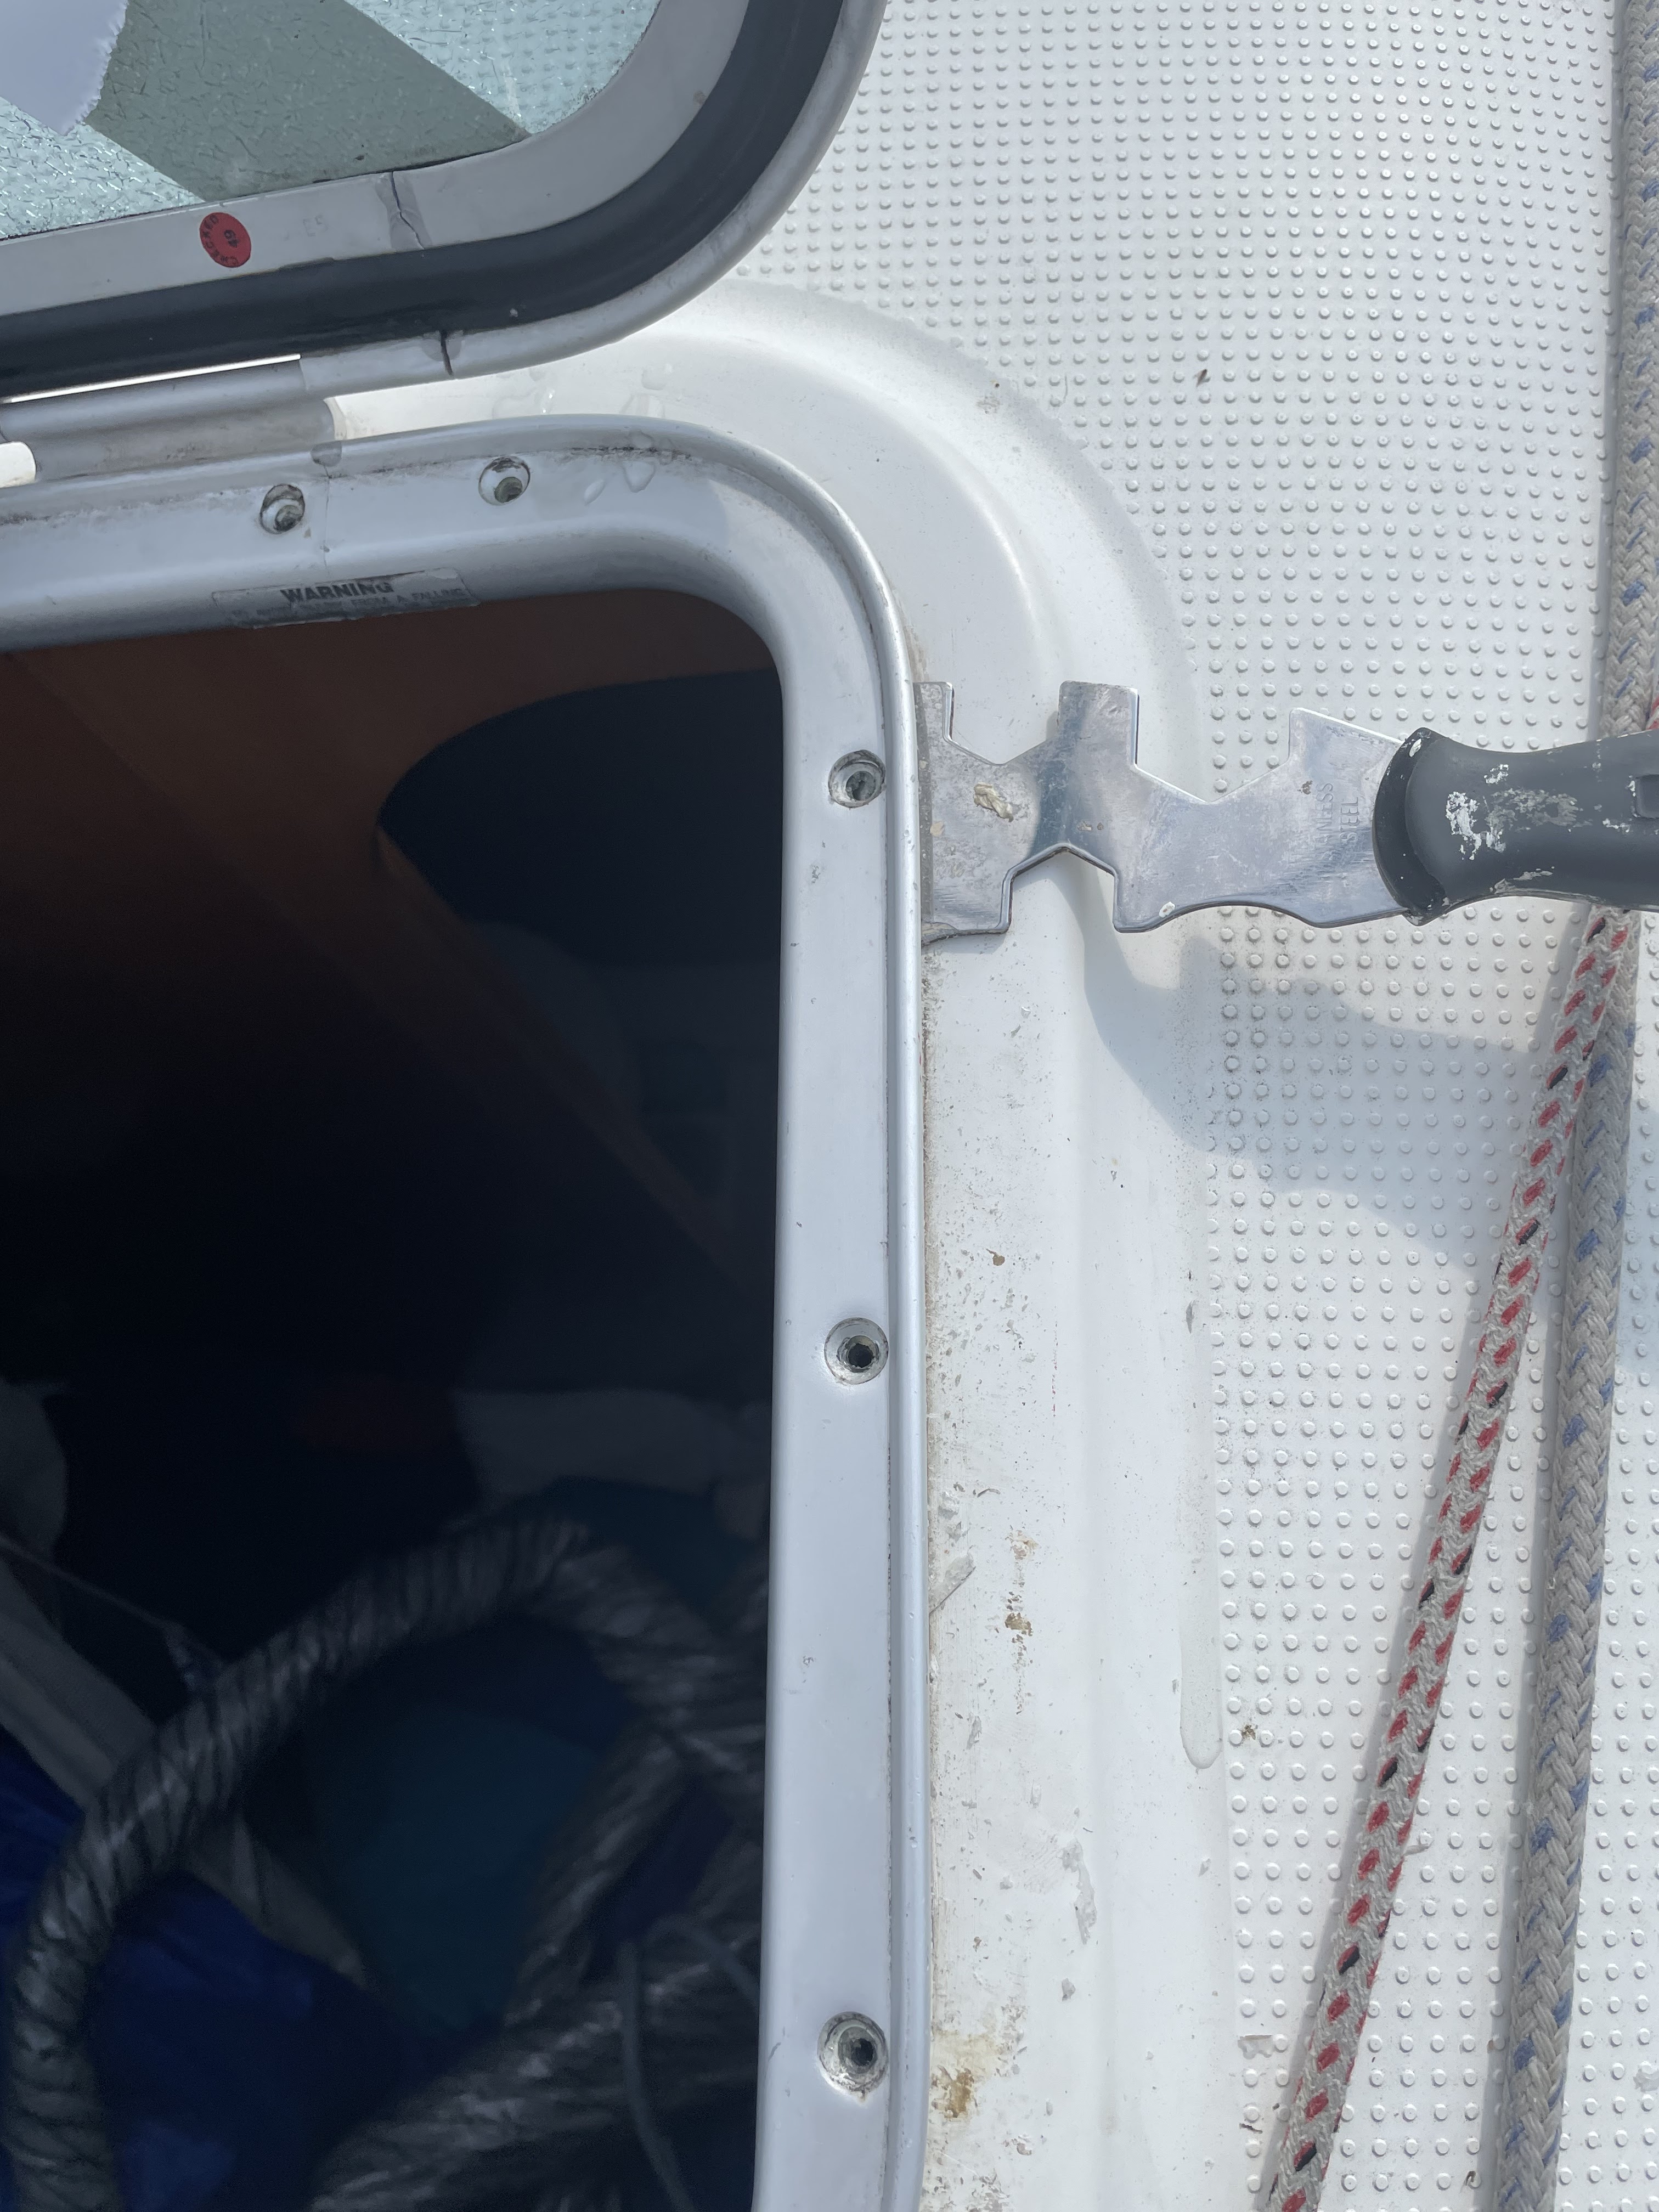

Now for a moment of truth, would the new hatch fit? I knew that of course it is supposed to, but the new hatch is a gen2 model of the old hatch, and I always seem to always keep track of the worst case scenario. Happily it dropped straight in, but interestingly enough the screw holes do not align, except for the the one dead front center. I attribute that to a gen 1 vs gen 2 thing. Anyway that was more than fine with me, as new holes would be better anyway.

After laying a solid bead of Sikaflex-291 around the base, I laid it in and screwed the base down. This went perfectly, as the new holes lined up exactly. The hatch looks great!

And even more from the inside, which like the portlights were so crazed that you could not make out what was outside. OK for light transmission, but not much else. Now, perfect.

So why part #1? While looking up the specs of the hatch on an old First 260 spec sheet, I noticed that the standard non-opening hatch in the head had an optional opening hatch.
.png)
As the lack of ventilation there has always bothered me, and as a fan of ventilation in general, I’ve ordered that part as well. That will be part 2, which is up and available HERE.


Clay, thank you. That was very informative.
ReplyDelete