Updated Hatches, part 2
OK here we go with part 2. As previewed in part 1, this post is about replacing the fixed hatch in the head with an opening hatch. You can read about the foredeck hatch replacement HERE. The hatch for the head compartment is a Lewmar Low Profile Model 41. As it was an option on the First 260, it should drop right into the hole under the fixed hatch.
I’ll say it right now - this job took over two times the expected time to compete, but was also more than two time as satisfying. The satisfying part is easy to understand; its not just a replacement, it is a full upgrade. The extra time? I’ll explain now.
Here is the old fixed port before I started. I’m not sure, but I’m guessing that this lens is a Lewmar part that they sold to boatbuilders to install when a opening hatch was as option. It was highly engineered, not just a piece of acrylic. On BlueJ it was actually loose and seemed ready to fall out.
But looks were deceiving. While parts of the port were ‘loose’, using the chisel showed that I was not going to cut through simple silicon, but through a permanent mastic. This started to make sense when you factor in there are no mechanical fasteners, and they never expected it to come out. Here we are ALL IN. Alea iacta est. The old frame has cracked during removal. And you can see the thick black mastic that will have to totally removed.
Removing the mastic took 2+ hours of chisel, solvent, sanding block, and a drill with a sanding wheel. Slow going but the good news is that there was not really a lot of area to cover. Somewhere in the middle if this, it seemed time for a test fit! When I tried to place it in, my heart skipped a beat when it would not go into the opening. Happily, the key is that opening is a close tolerance fit, and you have to find the correct side to put in first, Then all goes fine. Make sure you do this if you are doing the same on your boat. The hatch is just sitting in the hole, but I can now I can see light at the end of the tunnel.
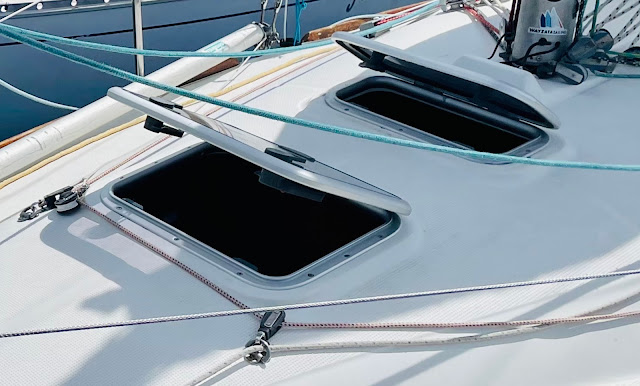
After the test fit, it was more cleaning, and making sure that the Sikaflex had a good surface to adhere to. So more scraping and solvent to clean the area. Now finally time for the final placement. I applied the Sika to the frame, and placed the hatch in the hole. As it was a tight fit, it seemed fine to drill after the hatch was in place. That worked well, and the final result!
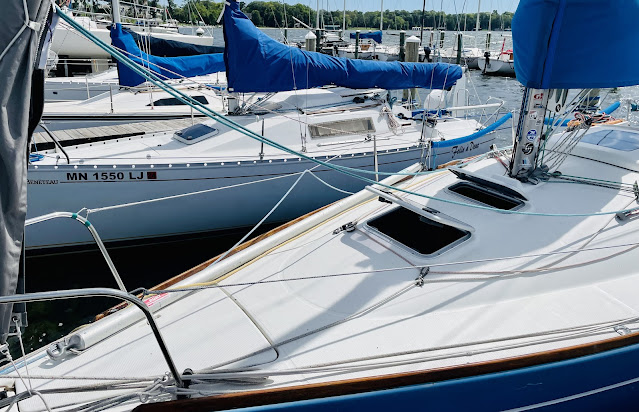
From the inside, the extra light is clearly noticeable, and the ventilation is amazing. Due to the much better ‘viewing’ both out and IN, we will leave the fabric shade partially attached to the snaps when cruising with friends and we expect people on the foredeck. What a great add! We will leave the hatch in vent mode when we are off the boat for a few days to help the boat stay dry and cool.
Vent mode means putting the dog levers in the middle position. The hatch cannot be opened from the outside, but is open a few degrees and vents, and will not let water in unless there is strong horizontal rain. In addition, there is probably 20 times the venting area than the old Lewmar mushroom vent I placed in the fixed port when I first bought BlueJ. This will help keep the boat cooler and drier while we are away.
In this last picture you can hardly tell the hatch is in vent mode. We have noticed that when closed it is slightly more likely to snag sheets or lines than the old fixed hatch. But we love the new hatch. I’m surprised I’ve only seen a picture of one First 260 with this as a factory option. For as much value as the brings vs what must have been a modest incremental cost, I can only assume that most boats were delivered to the dealers on spec, and buyers bought them right out of the dealers yard. Highly recommended modification.
Oh, part 3, that will will be the new acrylic hatch boards. Wait for it!


Comments
Post a Comment